How to Find Influencers by Bio Keyword (and Location)
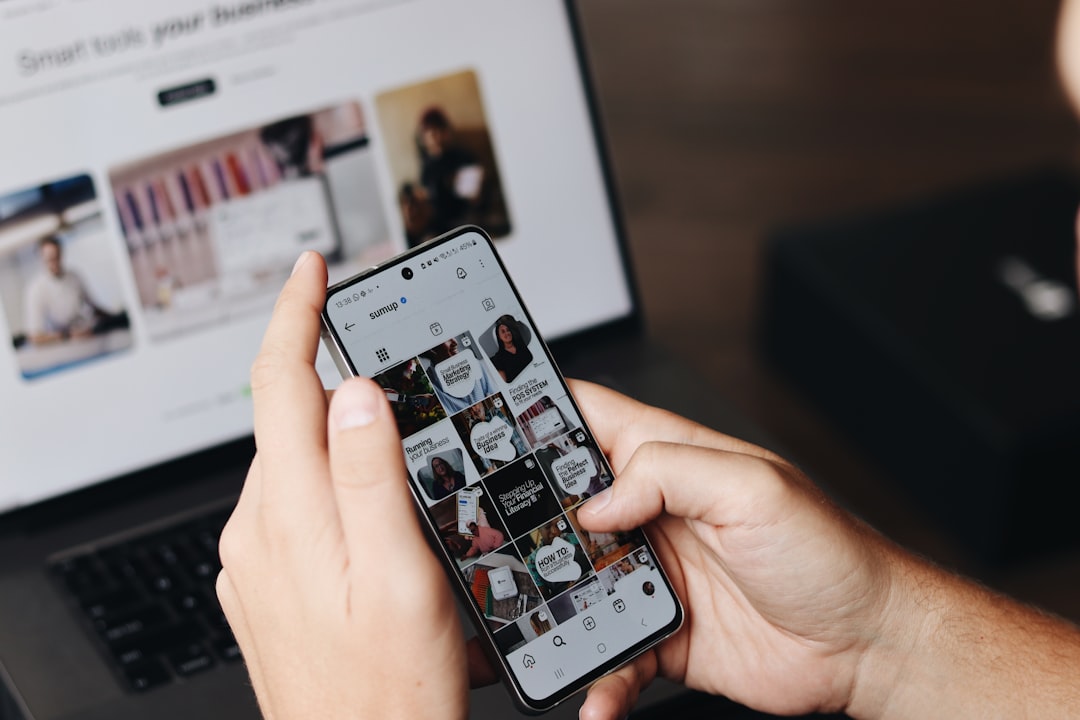
The best creator filter in the world is the one creators write themselves. “UGC creator.” “Skincare obsessed.” “Sydney based foodie.” “Vegan recipes and gym.” Every one of those is a targeting brief, typed by the creator, sitting in plain sight in their bio line. Most brands scroll straight past it.
Searching by bio keyword flips influencer discovery on its head. Instead of guessing a hashtag and hoping the right people used it, you search the exact words a creator uses to describe themselves, and you get a list of people who have already self-selected into your niche. This guide covers how to turn your brief into the right keywords, how to layer in location, and how to read a bio like a buyer so your shortlist is full of creators worth paying.
The bio is a self-selected targeting filter
A hashtag tells you what a post is about. A bio tells you who the creator is. That distinction is the whole reason bio search works so well.
When a creator writes “UGC creator” or “fitness coach” or “mum of two” in their bio, they are telling you three things at once: their niche, their identity, and the kind of brand deal they are open to. That is a far stronger targeting signal than a single hashtag on a single post, because it describes the account, not a moment.
It also surfaces creators you would never find by hashtag. A nano creator who never uses trending tags but writes “clean beauty + skincare” in their bio is exactly the niche partner you want, and a hashtag search will miss them every time.
Step 1: Turn your brief into bio keywords
Before you search, translate your campaign into the words creators actually put in their bios. Think in four buckets:
| Keyword type | Example | What it surfaces |
|---|---|---|
| Niche / topic | skincare, vegan, travel | Creators built around your category |
| Creator role | UGC creator, content creator, photographer | People selling a specific service |
| Audience / identity | mum, student, plus size | Creators with a defined audience |
| Lifestyle descriptor | gym, foodie, plant based | Passion-led creators with high trust |
Write down five to ten keywords across those buckets before you touch the tool. The best shortlists come from specific, self-descriptive terms, not broad ones. “UGC creator” beats “marketing.” “Clean beauty” beats “beauty.”
Step 2: Search the bio, not the hashtag
Once you have your keywords, run them. Our free find influencers by bio keyword tool searches 380M+ Instagram creators for a word in their bio and returns the accounts that describe themselves that way, ranked by followers.
Type “skincare”, “yoga” or “UGC creator” and you instantly get a list of creators who chose those words for themselves. Start broad to feel out the volume, then tighten. If “beauty” returns too many, narrow to “clean beauty” or “acne skincare” until the list is dense with genuine niche fits rather than everyone in the category.
This is the opposite of scrolling hashtags for an hour. The creators have already labelled themselves, and the tool just reads the labels at scale.
Step 3: Add a location when place matters
A skincare creator in Los Angeles is useless to a salon in Manchester. For any local or region-specific campaign, layering location on top of your keyword is the difference between a usable list and a global mess.
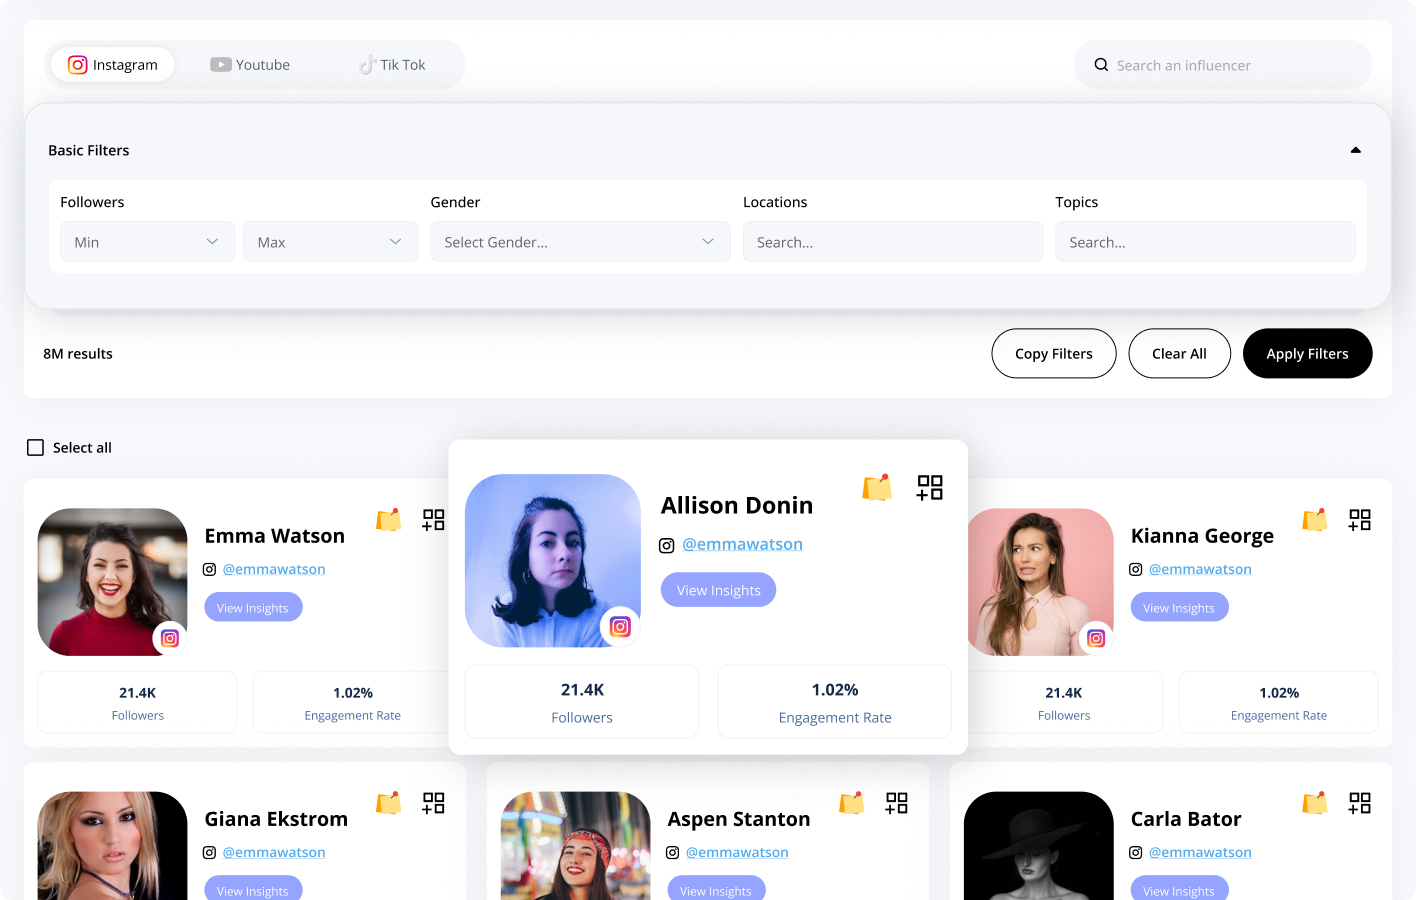
The bio tool lets you add a location filter alongside the keyword: start typing a place, pick it from the list, and the results narrow to creators based there. So “coffee” plus Melbourne gives you Melbourne coffee creators, not the entire planet’s baristas. Combine a tight keyword with a tight location and you get a shortlist a local brand can actually book this week.
Even for national campaigns, location helps you spread coverage: run the same keyword across three cities and you get regional creators instead of a pile of accounts from one saturated market.
Step 4: Read the bio like a buyer
A keyword gets a creator onto your list. Reading the full bio tells you whether they belong there. Once you have results, scan each bio for buying signals.
- Contact intent. An email address, “collabs welcome” or a management tag means they take brand deals. Prioritise them.
- Specificity. “Skincare for sensitive skin” is a sharper fit than “beauty lover” for a sensitive-skin product.
- Consistency. Does the bio match the recent posts? A bio that says “fitness” over a feed of holiday photos is a mismatch, and mismatches convert badly.
Two minutes reading bios trims a 100-name list down to the 20 that are genuinely worth contacting.
Step 5: Vet the shortlist before you pay
Bio search gets you a relevant list fast, but relevance is not the same as quality. Run the standard checks before you spend a penny.
Check real engagement with the free engagement rate calculator, because a perfect-fit bio over a dead audience is still a dead audience. Then run the fake follower checker to make sure the following is genuine. The full method is in how to spot fake followers before you pay, and once a creator passes, price them with the rate card generator.
Smaller, tightly-niched creators found this way often convert better than bigger, broader ones, which is the whole argument in micro vs macro influencers.
When to use bio search vs AI content search
Bio search and AI content search solve two different problems, and knowing which to reach for saves time.
- Use bio search when you know the label. You want creators who call themselves a thing: “UGC creator”, “nutritionist”, “streetwear”. The keyword is obvious and self-descriptive.
- Use AI search when you know the vibe, not the word. You can picture the content but cannot name it in one keyword. Describe it in plain English instead with AI influencer search, covered in AI influencer search: find creators by content.
Most brands end up using both: bio search to build the core niche list, AI search to catch the creators who defy easy labels.
The short version
Creators hand you a targeting brief in their bio, so use it. Translate your campaign into specific, self-descriptive keywords, search the bio rather than the hashtag, and add a location when place matters. Read each bio for contact intent and consistency, vet engagement and fake followers before you pay, and lean on AI search when a keyword cannot capture the vibe. Do that and you build a dense, niche shortlist in minutes instead of an afternoon of scrolling.
Looking for creators by who they already work with instead of how they describe themselves? That is a different high-intent search: see how to find the influencers your competitors work with. And for the full journey from goal to booking, start with how to find influencers for your brand.
Want to search creator bios right now? Hive lets you find niche creators by keyword and location, vet their audience, and book them in one place. Create a free brand account and build your shortlist today.
Find creators worth paying, in one place.
Search 380M+ creators by the content they actually post, then vet, book and pay in one platform.
Create a free account